Quickstart
Datalogic supported devices
The following table lists the devices supported by the IoT Platform along with their minimun firmware versions and the features available for each device.
Fixed Retail Scanners
| Device Family | Model | Firmware Version | Cradle Model | Cradle Firmware Version | Type | Interface | Logs | Beep | Reset |
|---|---|---|---|---|---|---|---|---|---|
| Magellan 9900i and 9600i | Magellan 9900i | DR9401745 | USB-COM | ✓ | ✓ | ✓ | |||
| USB-OEM | ✓ | ✓ | ✓ | ||||||
| Magellan 900i | Magellan 900i | DR9401688 | USB-COM | ✓ | ✓ | ✓ | |||
| USB-OEM | ✓ | ✓ | ✓ | ||||||
| Magellan 9800i | Magellan 9800i | DR9401702 | USB-COM | ✗ | ✓ | ✓ | |||
| USB-OEM | ✗ | ✓ | ✓ | ||||||
| Magellan 9400i and 9300i | Magellan 9400i | DR9401731 | USB-COM | ✗ | ✓ | ✓ | |||
| USB-OEM | ✗ | ✓ | ✓ |
Handheld Scanners
| Device Family | Model | Firmware Version | Cradle Model | Cradle Firmware Version | Type | Interface | Logs | Beep | Reset |
|---|---|---|---|---|---|---|---|---|---|
| Powerscan 9600 | PD9630 | 610149558 | Corded | USB-COM | ✓ | ✓ | ✓ | ||
| USB-OEM | ✗ | ✓ | ✓ | ||||||
| Powerscan 9500 | PD9530 | 610025433 | Corded | USB-COM | ✗ | ✓ | ✓ | ||
| USB-OEM | ✗ | ✓ | ✓ | ||||||
| Gryphon 4500 | GD4500 | 610099055 | Corded | USB-COM | ✓ | ✓ | ✓ | ||
| USB-OEM | ✗ | ✓ | ✓ | ||||||
| GFS | GFS4500 | 610190628 | Corded | USB-COM | ✓ | ✓ | ✓ | ||
| USB-OEM | ✗ | ✓ | ✓ | ||||||
| Powerscan 9600 | PBT9600 | 610159248 | BC9600 | 610149761 | BT | USB-COM | ✓ | ✓ | ✓ |
| USB-OEM | ✗ | ✓ | ✓ | ||||||
| Gryphon 4500 | GBT4500 | 610184015 | WLC4090 | 610099161 | BT | USB-COM | ✓ | ✓ | ✓ |
| USB-OEM | ✗ | ✓ | ✓ | ||||||
| Quickscan QBT2500 | QBT2500 | 610181829 | BC2090 | 610171631 | BT | USB-COM | ✗ | ✓ | ✓ |
| USB-OEM | ✗ | ✓ | ✓ | ||||||
| QuickScan QM2500 | QM2500 | 610184718 | BC2090 | 610184820 | STAR | USB-COM | ✓ | ✓ | ✓ |
| USB-OEM | ✗ | ✓ | ✓ |
Legend:
- ✓ = Supported
- ✗ = Not supported
Install Aladdin SDS
Follow these steps to run the Aladdin SDS as a Windows Service:
-
Download the .msi installer from Aladdin SDS Msi.
-
Run the installer and follow the instructions provided.
-
Check if service is running in the task manager:
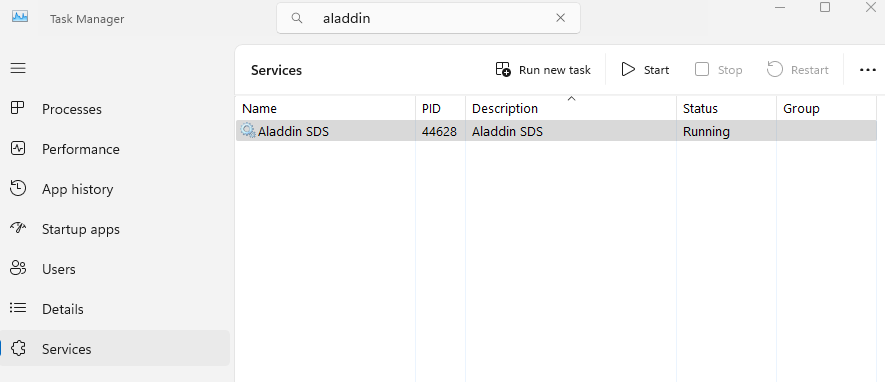
-
Connect the Datalogic device to the POS system or the industrial PC.
-
Read the device serial number using the OpenAPI documentation page.
-
Click on the
GET /devicesbutton, then click on theTry it outbutton and finally click on theExecutebutton: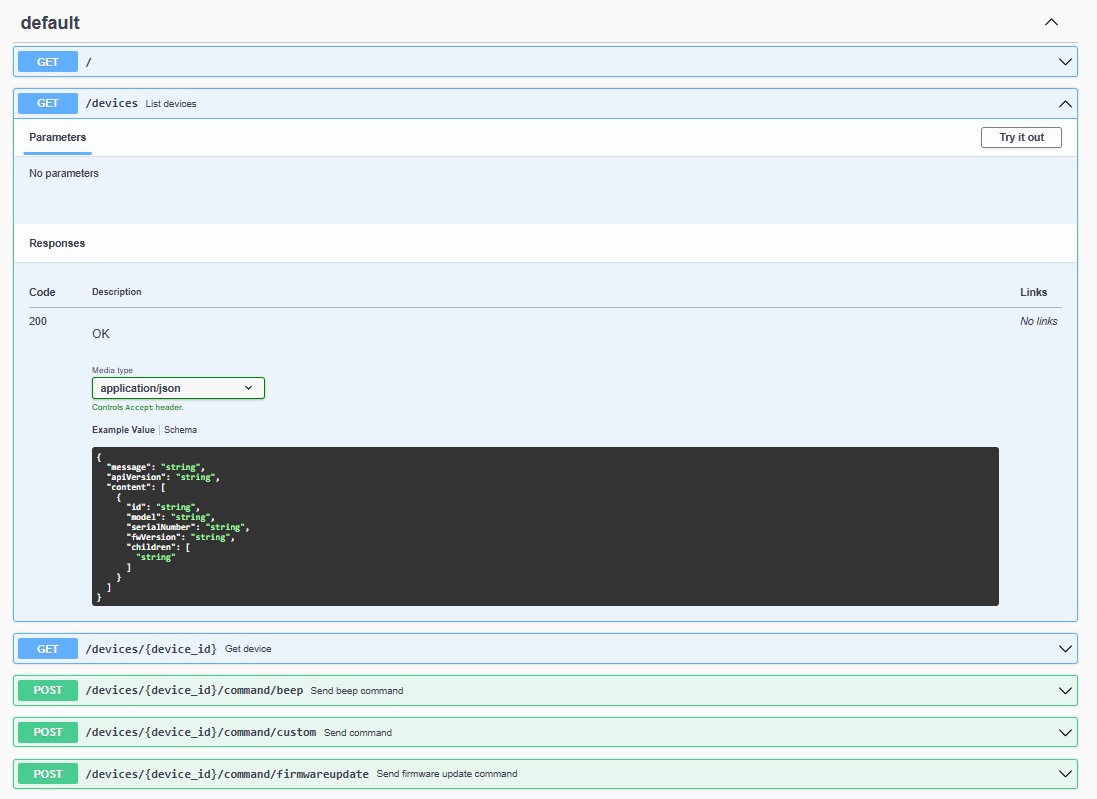
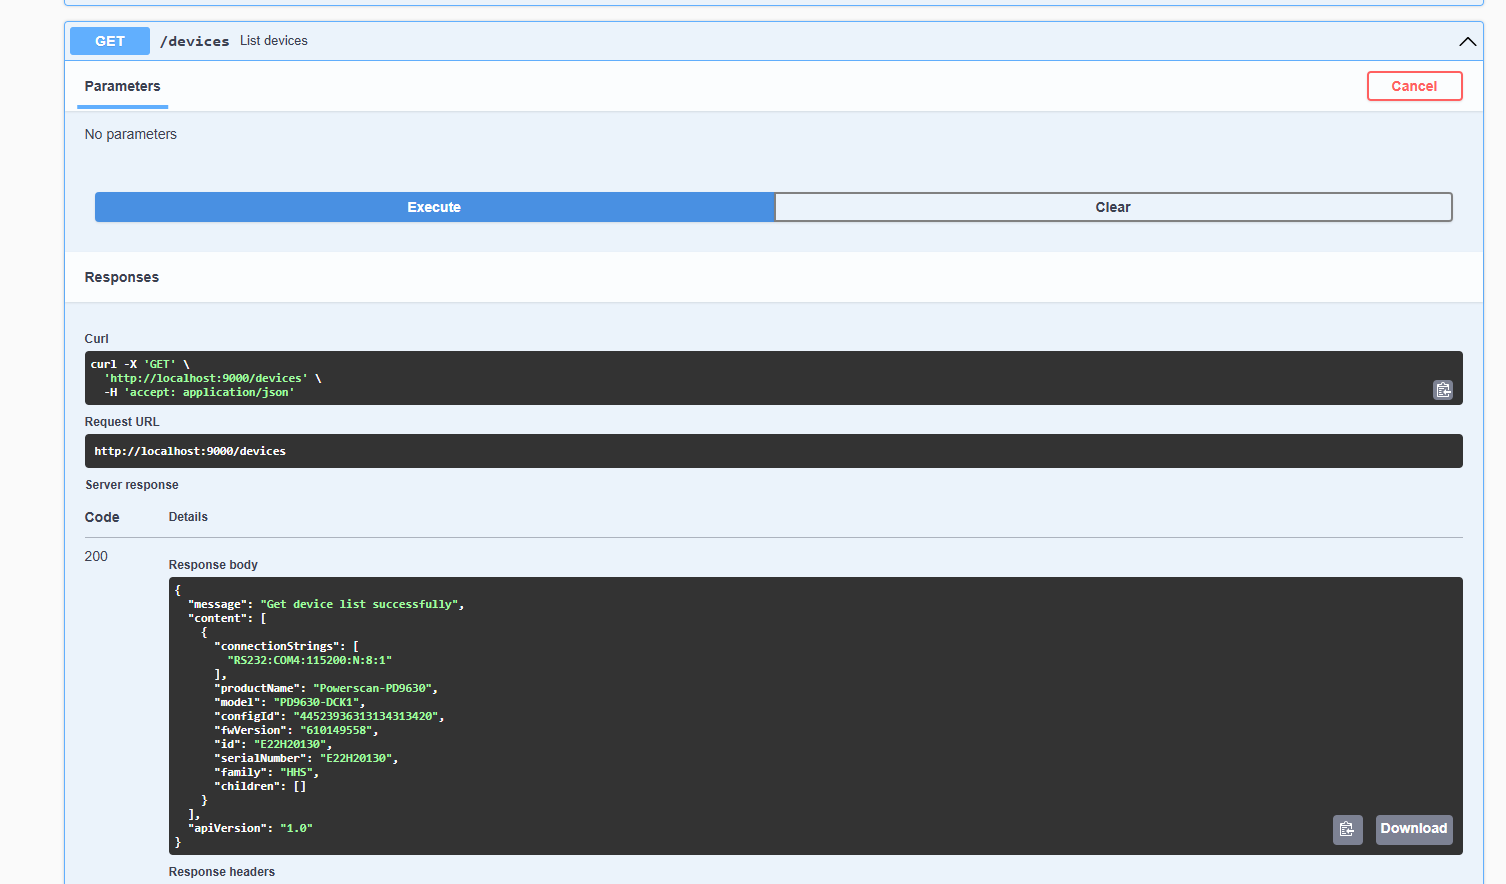
-
The response will show the device serial number of the devices connected. In the example below, there are two devices connected to the POS system: annotate the id of the devices that you want to add to the platform (in the example below, E22H20130):
Install Device Integration Agent
Follow these steps to run the Device Integration Agent as a Windows Service:
-
Download the .msi installer from Device Integration Agent.
-
Run the installer and follow the instructions provided.
-
Check if service is running in the task manager:

-
Open the configuration file located at
config.tomllocated in the installation directory provided during the installation. -
Update the configuration settings as required using the EDGE_DEVICE_IP of the IoT Edge Gateway of the store:
agent = {sendTelemetryMs=3600000, logLevel="INFO"}
firmware = {protocol = "http", host = "<EDGE_DEVICE_IP>", port="8090"}
mqtt ={ clientId="${random.uuid}", host="tcp://<EDGE_DEVICE_IP>:1883" }
service={tlsEnabled = false, host = "localhost", port="9000"} -
Restart the service in the task manager to apply the changes.
-
The device will now be visible in the platform with the status
onlineand provisioned after a few minutes: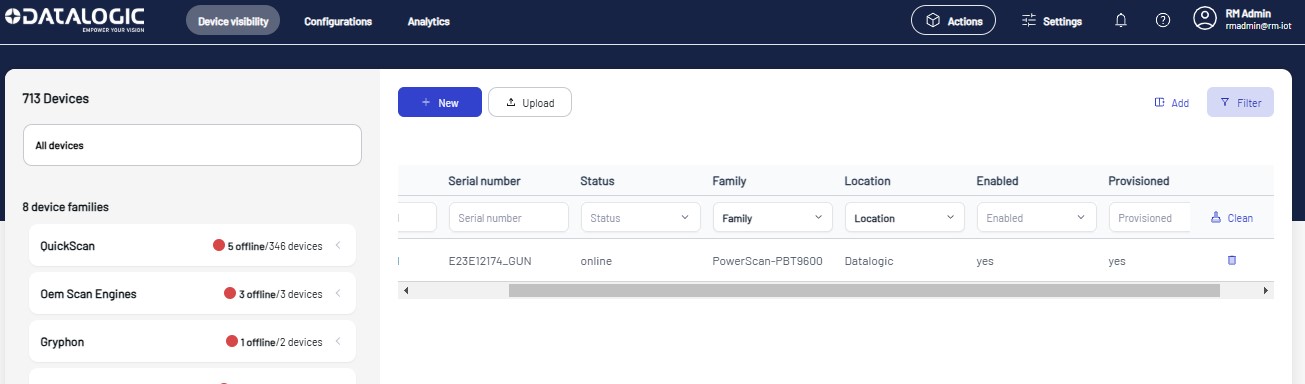
Device Smart Enrollment
-
Log in to the platform using the credentials provided:

-
Click on the
Device Visibilitysection: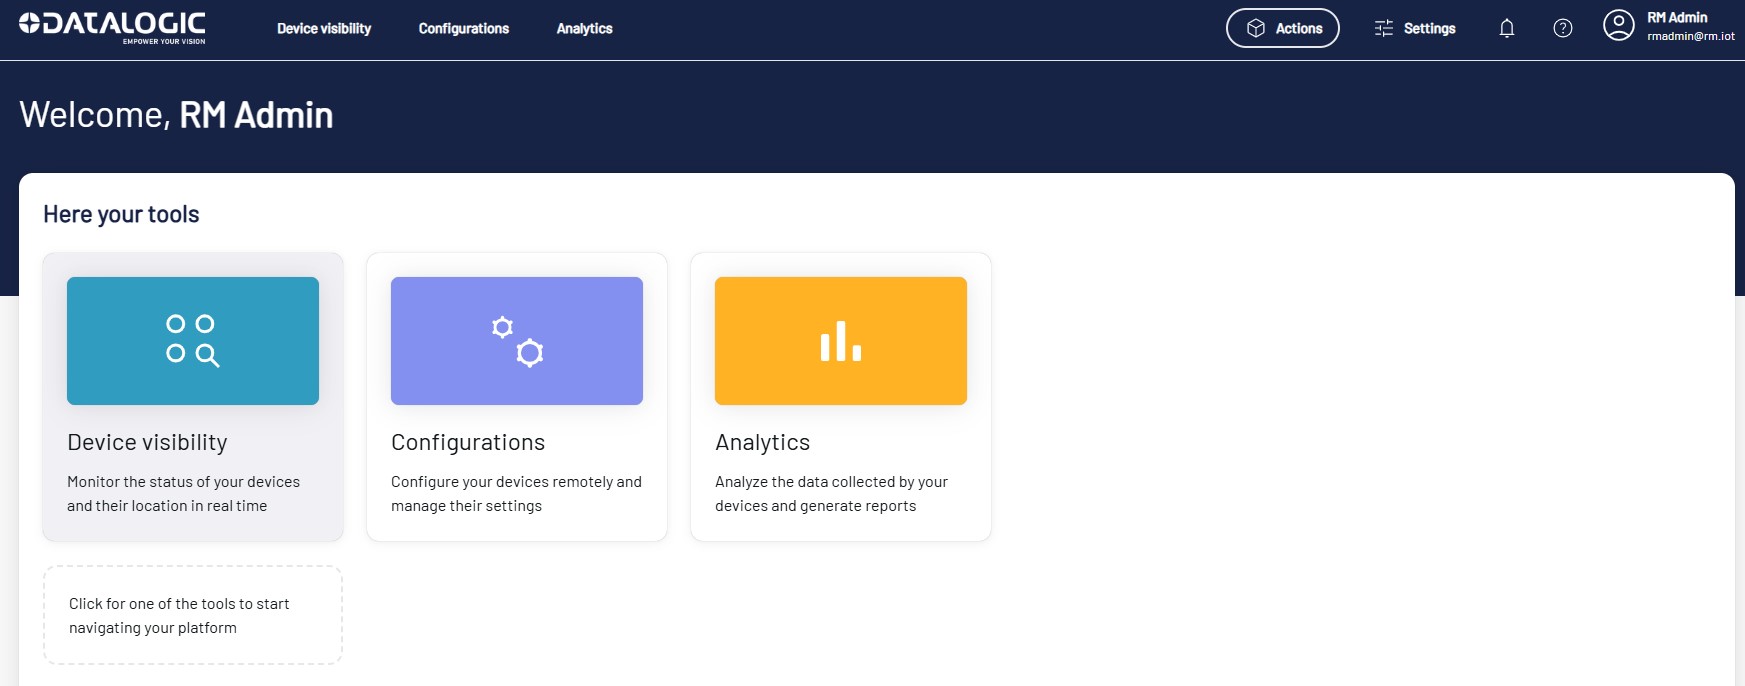
-
In the Device Visibility page, the POS (host device) and the Datalogic device should be visible with the status
To be approved.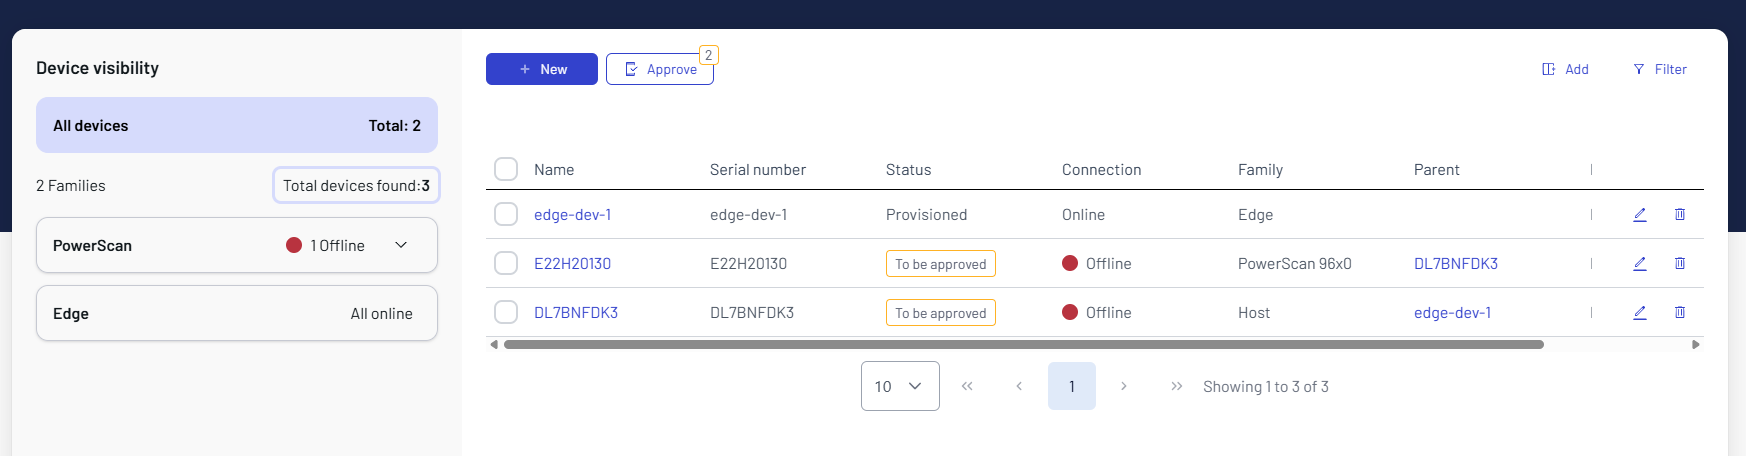
-
Clicking on the
Approvebutton will take you to the Device Approval page where you can add the device to the platform: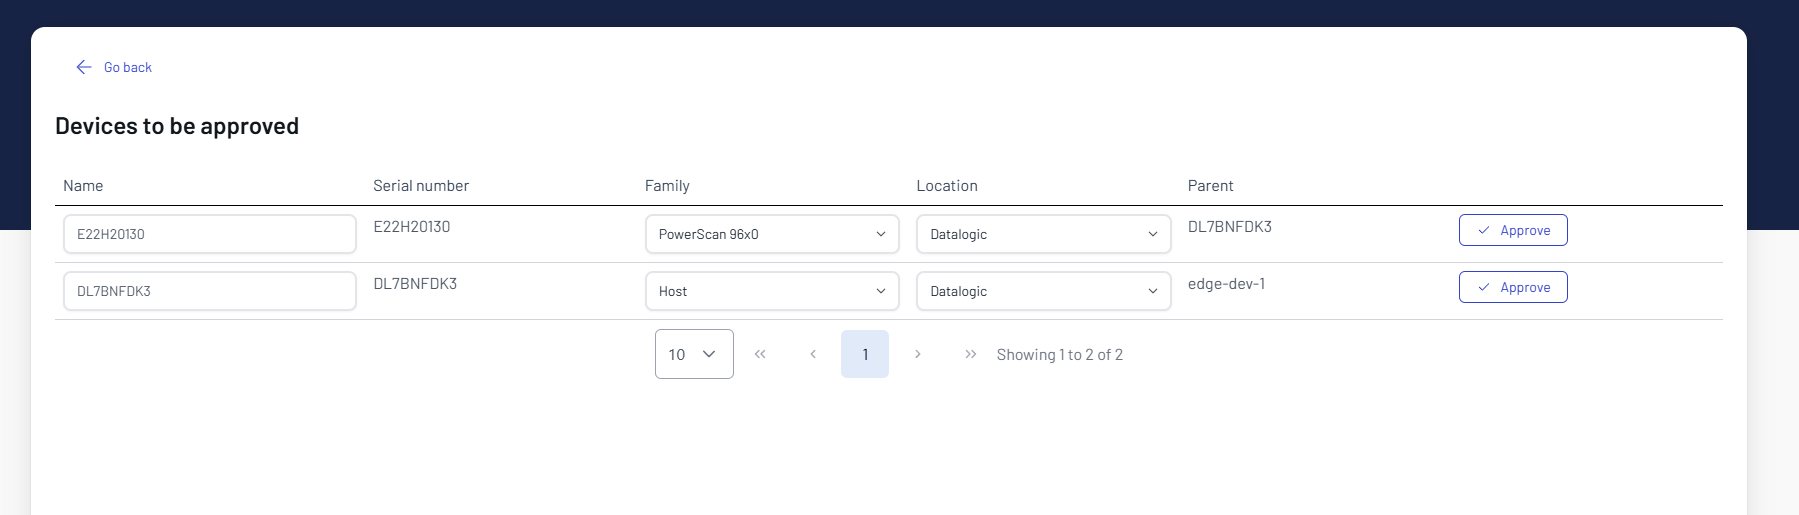
-
Check the device details and click on the
Approvebutton to add the device to the platform:- Device Category: Select the device category from the dropdown (e.g., PowerScan 96x0).
- Device Location: Select the location from the dropdown list (e.g., Datalogic)
- Device ID: Enter the device serial number (e.g., E22H20130).
- Device Name: Enter a name for the device (e.g., Powerscan_01).
After clicking the
Approvebutton, the device will be added to the platform and you will be redirected to the Device Visibility page. -
The device will now be visible in the platform with the connection
offlineand status 'Registered':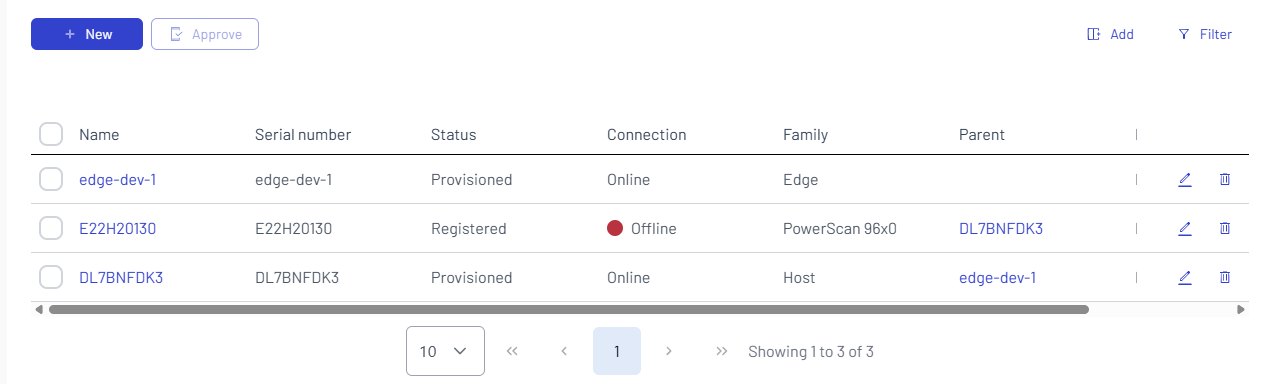
-
The device will automatically connect to the platform in a few minutes, changing the connection status to
onlineand the device status toProvisionedand reporting device information and telemetry data in the device details page.